
How to Turn a Video into a Live Photo
Pick the best 3 seconds, frame a lock-screen crop, choose the still image people see first, then export the Apple-compatible Live Photo files.
What makes a good Live Photo?
Keep the motion short and readable. ClipShift prepares a 3-second clip, crops it to a 9:16 iPhone lock-screen shape, and lets you pick the cover frame before upload.
The final download is a ZIP because a real Live Photo is made of two matching files: one HEIC image and one MOV motion clip.
1. Upload your video
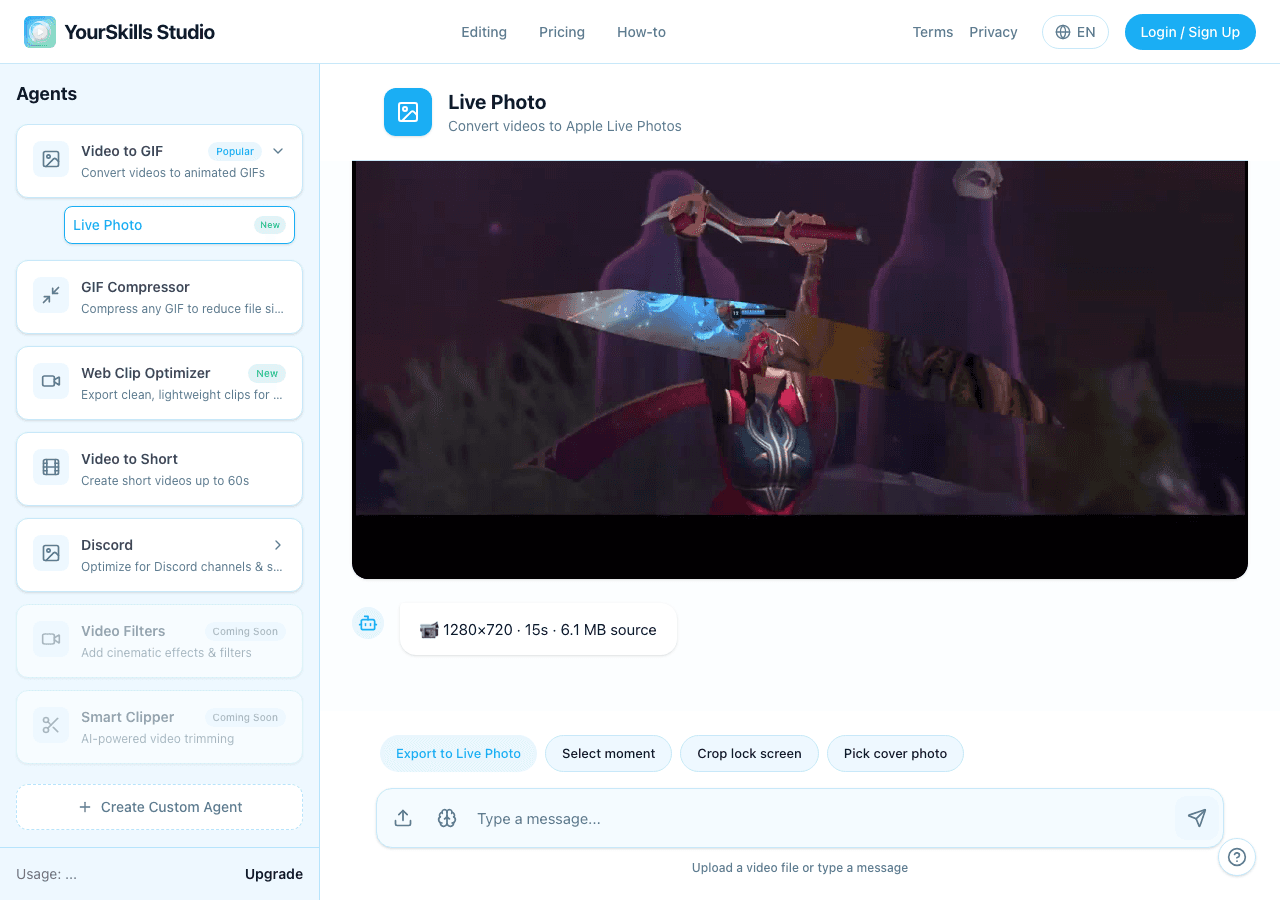
Open Video to Live Photo and upload the source video. The preview shows the detected resolution, duration, and source size so you can confirm you picked the right clip.
2. Select the best 3-second moment
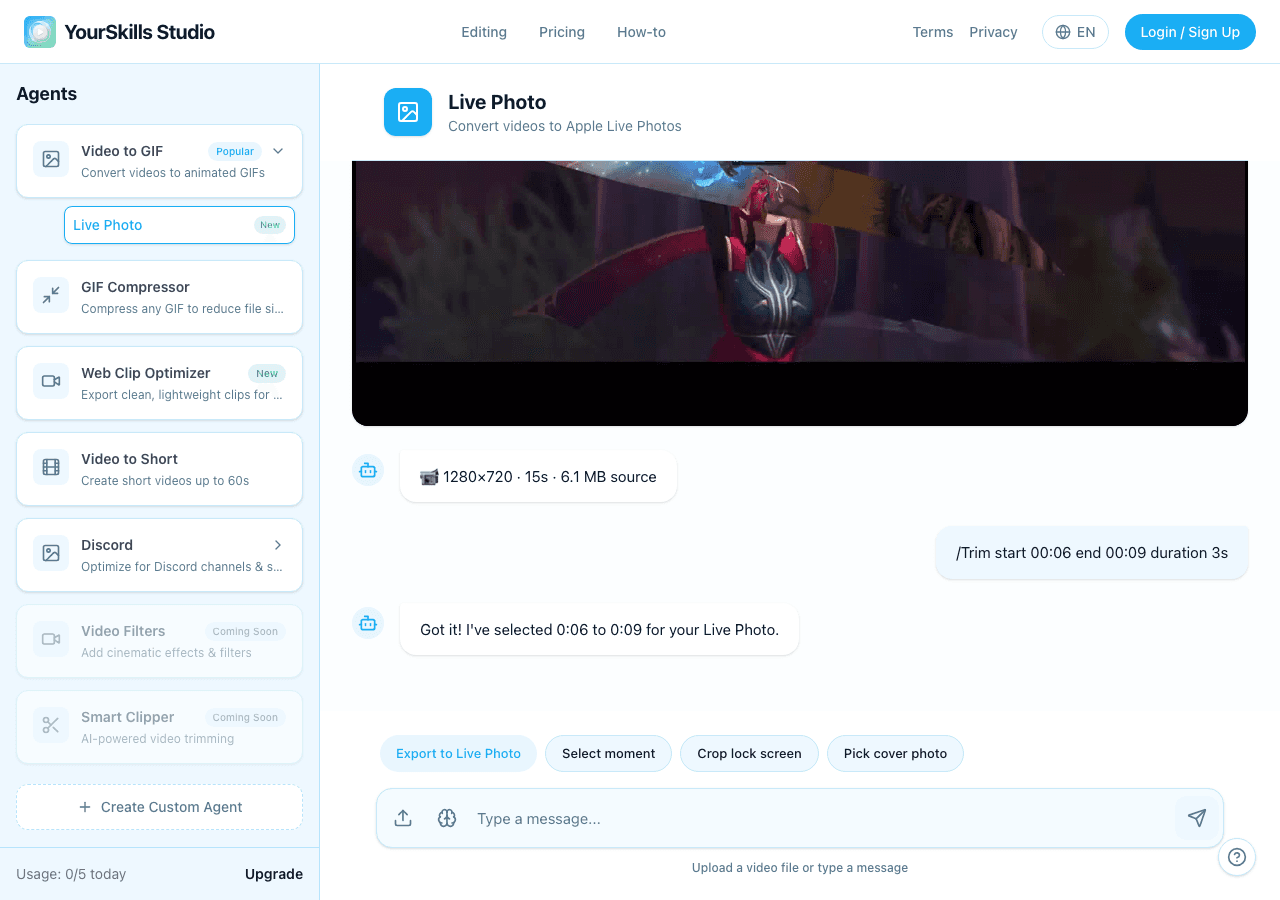
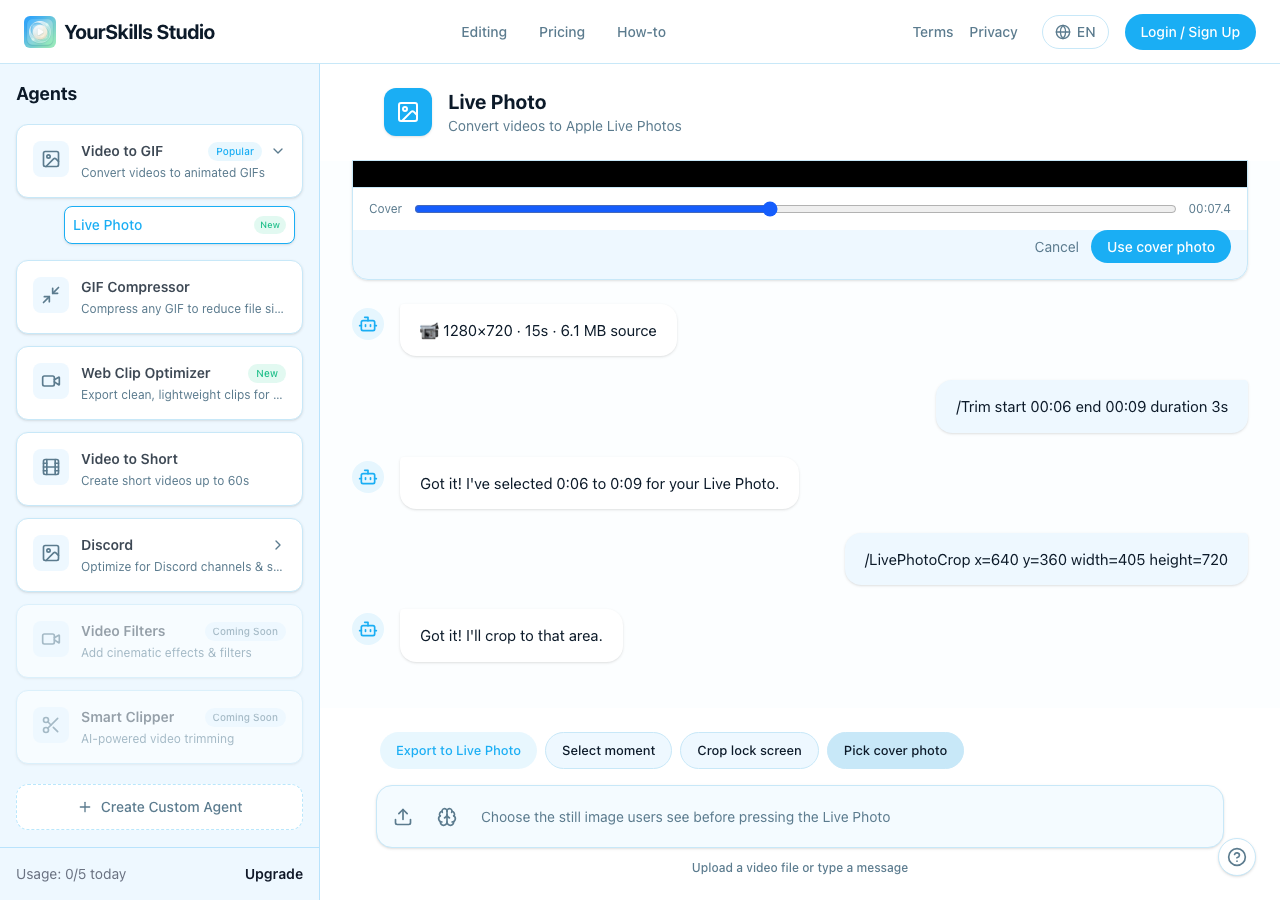
Click Trim video and choose the part that works best as a Live Photo. In this example, the selected segment is 00:06 to 00:09 because it has a clear subject and a clean lock-screen crop.
3. Frame the 9:16 lock-screen crop
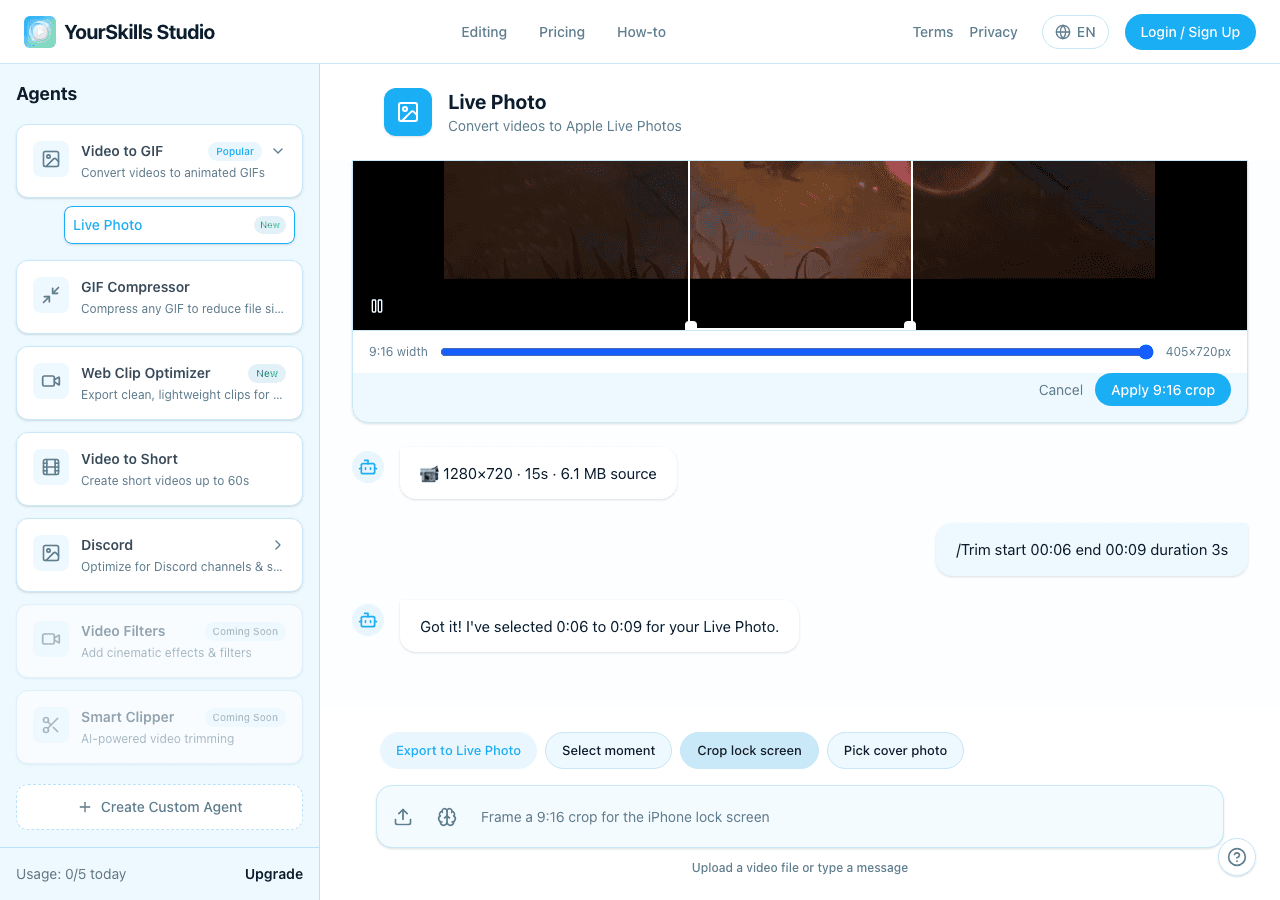
Click Crop area and place the 9:16 frame around the important subject. This crop is applied before upload, so the generated Live Photo already fits an iPhone lock screen.
4. Pick the cover photo
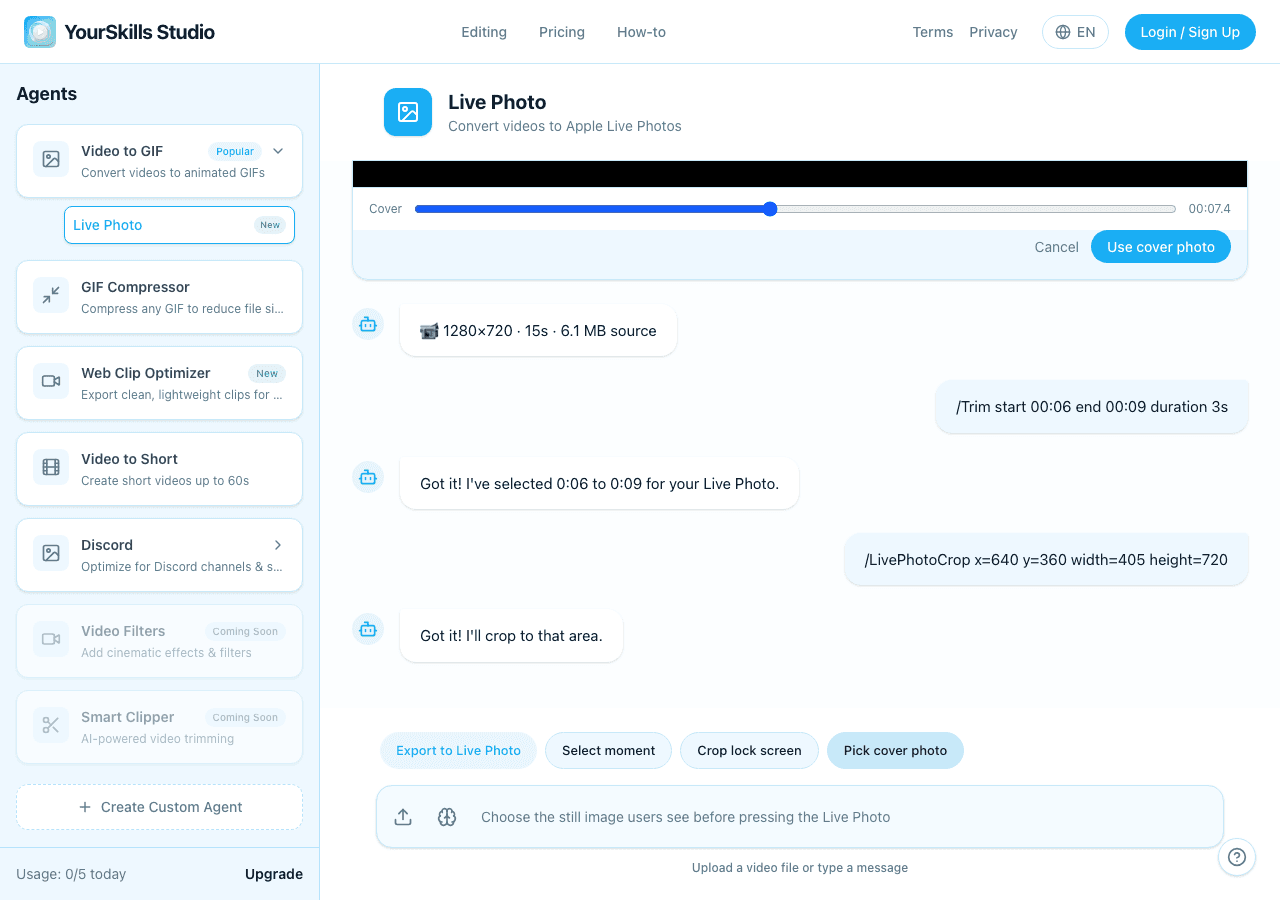
Click Pick cover photo and move the slider to a still image inside the same 9:16 crop that will be used for the Live Photo. A frame around 00:07.4 works well for this sample because the character stays centered and readable in the portrait crop.
5. Export the Live Photo
Click Export to Live Photo. The browser prepares the 3-second, portrait-cropped upload clip, then the remote converter returns a ZIP with the paired HEIC and MOV files.
The completed state shows a Live Photo preview when available and the standard result actions.
Apple Live Photo ZIP
Paired HEIC + MOV Result Artifact with Download, Retry Generation, Thumbs Up, and Thumbs Down actions
Save on iPhone from a direct download
- Tap Download to save the ZIP file to the Files app.
- Tap the ZIP once to unzip it and reveal the HEIC and MOV files.
- Select both files together, tap Share, then choose Save to Photos.
- Your iPhone should recognize them as one working Live Photo in Photos.
Ready to make one?
Open the editor and create a lock-screen-ready Live Photo from your own video.
Open Video to Live PhotoSave on iPhone from a Mac
- On your Mac, double-click the ZIP to unzip it into the HEIC and MOV files.
- AirDrop or transfer both files together to your iPhone, then save them to Photos.
Save on Mac
- Double-click the ZIP to unzip it into the HEIC and MOV files.
- Open or import both files into the Photos app together to see one Live Photo.
Need another format?
If you want to turn a Live Photo into a shareable animation instead, try our Video to GIF Converter.
Video to Live Photo FAQ
How long should a video be for a Live Photo?
Use a short 3-second moment for the Live Photo export. Short motion works best for iPhone lock-screen playback.
Why does the Live Photo download as a ZIP?
A real Apple Live Photo uses a paired still image and motion clip, so the download includes matching HEIC and MOV files.
Can I set the exported Live Photo as wallpaper?
Yes. Save both exported files to Photos on iPhone, then choose the Live Photo from Wallpaper settings or the Photos share sheet.
Related guides
- How to Set a Live Photo as Wallpaper on iPhone — apply the exported Live Photo to the lock screen.
- How to Make a GIF from a Video on iPhone — choose GIF instead of Live Photo for sharing.
- How to Use Agent Commands and Memory — learn the trim, crop, and cover-frame controls.